Walnut Console Table Build
GETTING STARTED
A while back, I bought a large walnut slab with no real intention or idea of what I wanted to do with it; I just really liked the look of the slab. Over several weeks, I played around with some ideas and things I might want to make out of it before I finally settled on an idea - a console table. I thought this board would be perfect for a long and narrow console table. However, in my design I wanted to accomplish three main objectives.
First, I wanted my table to be a little different than what I “usually” built up to this point; I have done a lot of tapered legs, in classic Shaker style, but I wanted this table to be different. So what I did in this build was to use a very subtle curve in the legs. Not as exaggerated as a cabriole leg, but more subtle and hardly noticeable. I also wanted curved aprons on the table, instead of just straight ones, as I thought this would also add a little elegance to the table.
The second thing I wanted from this project was I wanted a book matched top. I love a book matched top on tables, panels and doors; you name it, and I try to do this whenever possible. When you can pull it off, it is really an eye catcher. The challenge with doing the book matched top, in this case, leads me to design element number three.
Lastly, I wanted the entire table to come out of the one single board. The board I had was an 8/4 (2" thick) rough sawn board that was roughly 15” wide and about 8’ long. When you start to factor in the length of material required for the legs and the book matched top, you really start to run out of board quickly!
So, let’s take a walk-through of how I pulled this off…
Console Table Parts Layout
The first thing I needed to do in this console table build was to come up with what I wanted the overall dimensions to be, given the constraint of using just the one board on hand. The dimensions I came up with were a table 30” tall by 15” deep by 42” wide/long.
Once I had these dimensions in mind, I could then sketch out the design of the table and get an idea of the part sizes I would need. Next, I went to the actual board I had and used chalk to start to roughly lay out where each piece would come from on this particular board.
Once I was sure I could get all of the parts out of this one board, it was time to break the parts down and do their initial milling. This involved using my jointer to flatten one side, run it through the planer to make the other side parallel to the planed surface and get it to the final thickness. I also joint one edge and use the table saw to cut each piece to their width. Here are all the parts stacked and ready to begin laying out the joints.

Console Table Joinery
The legs and the aprons are joined together using mortise and tenon joints. The legs are about 1.25” square and so the tenons are just over ½” long. I use the table saw to cut the tenons and my hollow chisel mortiser for the mortises, but I then fine tune all the joints with hand tools to ensure a perfect fit. Here you can see my mess of hand tools with the legs and aprons dry fit in the back.
Once I had the mortise and tenon joints complete, I could go to the bandsaw and cut the curve in the aprons. I used my oscillating sander to smooth out the rough edge the bandsaw leaves and refine the curve.
Next I was able to get the base dry fit and get a sense for what it was starting to look like. Obviously the legs are bulky and boring so I needed to work on how I was going to execute the curves of the legs. However, I wanted to have the mortise and tenon joints done first so that the curved legs would not cause a problem when trying to do the mortises later.
Shaping the Legs
Once all of the base joinery was complete and dry fit, I could turn my attention to shaping the legs. What I wanted to do here was kind of a reverse cabriole leg in a way. Instead of having a knee that kicks out, I wanted the leading edge to curve in. So, I made a template, several actually. This is the final template I came up with.
You can see the very subtle curve on the front of the leg (right hand side) starting just below the horizontal pencil mark. Down by the clamp, on the left side, you can see where I took just a little part of the heel off of the bottom of the leg. Once I was happy with this, it was time to trace the template onto the leg blanks, go to the bandsaw and cut this out.
Next, I used my card scraper and spokeshave to clean up the saw marks from the bandsaw and refine the shape down to the traced pencil marks and make everything nice and smooth.
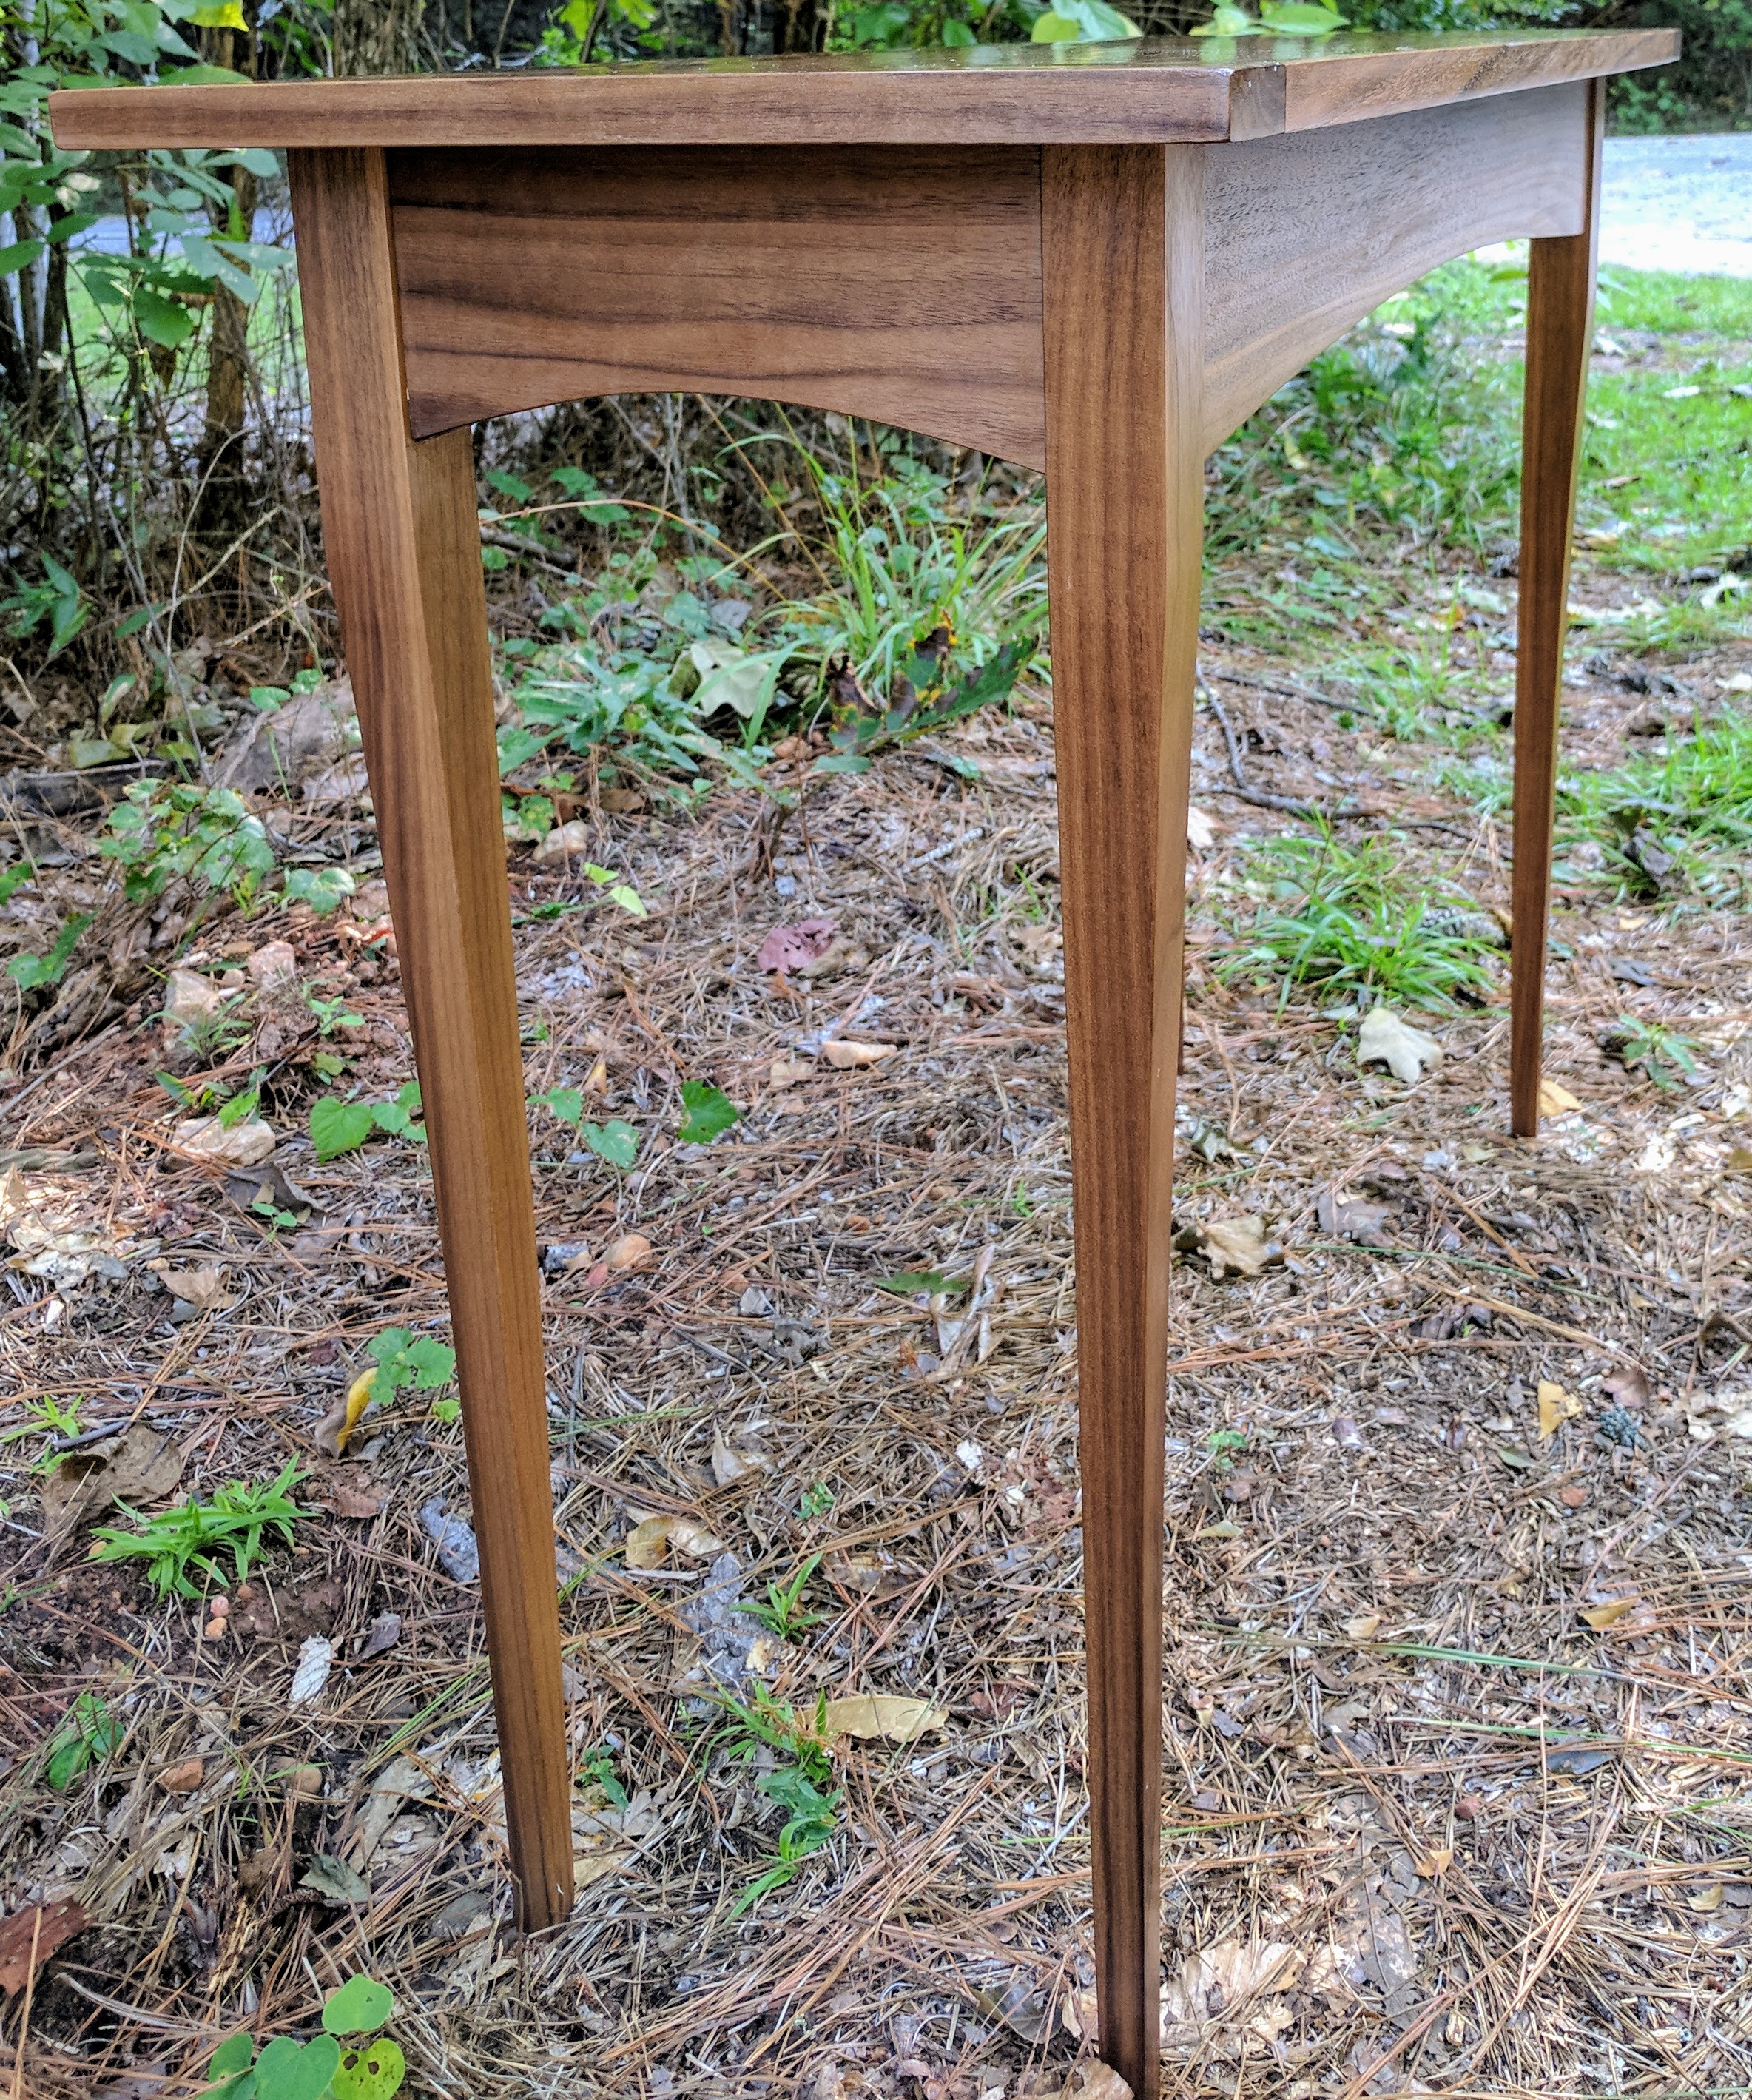
Once all four legs were done, I re-assembled the base so I could get a sense of what it would look like.
In this above photo, you can see the very slight curve in the legs, but you will see it even more in the final photos below. First, we need to make this amazing book matched top!
Console Table Book Matched Top
I love the look of a book matched top on a desk or table, of any kind. For this console table, this was the one thing I really wanted to make sure I nailed, above anything else. So, while I was laying out the parts in the walnut stock (above) I need to make sure I chose from a section of the board that would have some interesting grain. To be sure to keep the top flat, I wanted to utilize small breadboard ends on the top. Now, these breadboards were not really necessary for a console table of this size, but I thought it would add an interesting design element to the top as well.
So, first I needed to cut my selected section of the board for the top, in half, on the bandsaw and glue it up. Here is the top in the clamps.
What do you think of that grain? I think it is pretty cool, and will look better with the oil on it at the end.
Now, I’m going to skip over the breadboard portion of the build, mainly because I didn’t get any photos of it; I was too wrapped up in the process I guess. It happens a lot. So, let’s go to the finish and the beauty shots!


I really love the way this little console table turned out! I was thrilled that I was able to fit everything within my self-inflicted design constraints as well. I like to push my designs like this and force myself to think differently and approach projects from different perspectives.
Hopefully you enjoyed this build as well. If you liked this build, please consider signing up to be notified of future blog posts.
Disclosure: Some links in this article are affiliate links meaning, I may get a small commission if you purchase anything from these links. Thank you for your support!


Welcome to my blog. My name is Derik VanVleet and I am the owner/builder of VanVleet Woodworking llc. I hope you find this blog useful and insightful. Feel free to leave a comment in the bottom. Thank you!