Massive Dining Table Build - Part 2
Completing the Dining Table
In Part 1 of this massive dining table build, I focused heavily on the process of building the base. In Part 2, I'm going to touch on the building of the top of the table, as well as the finish, followed with some beauty shots.
Topping It Off
With the base done, I could focus my attention to the top. Remember, this is going to be a finished dimension of 5 feet wide by 11 feet long. Because this top is going to be so big, I had to use 12 foot lumber to create my top. This meant wrangling some pretty long and heavy boards across the jointer and planer. Here you can see I’m using some in-feed and out-feed rollers to help me out.
After milling all of the boards, I had to glue up the top in stages. This was a very time consuming process because I had to wait for the glue to dry, then glue up more boards, then wait, then glue, etc, etc. After several glue-ups, I finally had the top to its final width.
One other challenge faced with a table top this big is, how do I keep it flat? I solved this issue by using breadboard joinery on the ends of the table. This would ensure that the top would remain perfectly flat, but also allow for seasonal movement. Now, there is debate whether this is necessary or it is just a design element. What I know for sure is this; a breadboard end will keep a table top flat. So, if you have the slightest concern at all, do it...so I did.
The main premise of a breadboard joint is you are simply creating a series of mortise and tenon joints in the top and another board that runs perpendicular to the top. This perpendicular board prevents the top from bowing or twisting. In this table, I used 5 mortise and tenon joints in the top. The center mortise and tenon is the only joint that is put together with a snug fit and is glued. The other joints should have slightly oversized mortises and the peg holes should be elongated, laterally, to allow for seasonal expansion/contraction.
After many hours of sanding, I had all the glue cleaned up, the top was flat and extremely smooth. I couldn't believe it, but I was then ready to apply the finish to this massive dining table!
Finishing the Dining Table
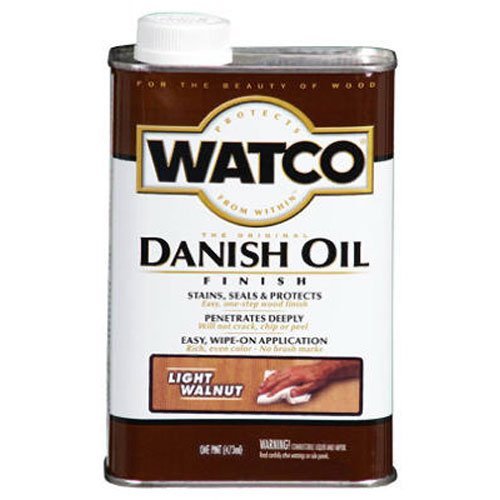
After all the parts were finish sanded it was time to turn to the finish process. This client has a lot of red oak in their kitchen, which is open to where this table is going. We did not want the table to have the exact same finish as the rest of the cabinets and things in the room, we wanted to be just a bit different to stand apart. So, what we chose was to use a Watco Light Walnut oil finish. I applied two coats of this oil to all of the parts then let it dry completely.
To protect the top, I applied 5 coats of an oil based wipe on polyurethane. This is really just full strength polyurethane that is then thinned 50/50 with mineral spirits. This allows the thinned finish to get into the wood and build up micro layers of protection.
Once all the coats of polyurethane were applied and completely dried, I like to use 0000 steel wool and furniture wax to buff out the top. The really fine steel wool knocks down any dust nibs that you might get and the wax adds a final layer of protection. This is all then buffed with a soft cloth and adds a really nice luster to the table and feels buttery smooth to the touch.
Dining Table - The Finished Product!
Here are a handful of photos of the final product in its new home...


Conclusion
This was a really fun, and challenging build. I know that this table will be around for a very long time and many important moments will happen here; life happens around a table.
If you are interested in your own version of a dining table, please contact me and let's get started!
Disclosure: Some links in this article are affiliate links meaning, I may get a small commission if you purchase anything from these links. Thank you for your support!


Welcome to my blog. My name is Derik VanVleet and I am the owner/builder of VanVleet Woodworking llc. I hope you find this blog useful and insightful. Feel free to leave a comment in the bottom. Thank you!