Wood Finish - How To

Welcome to my blog. My name is Derik VanVleet and I am the owner/builder of VanVleet Woodworking llc. I hope you find this blog useful and insightful. Feel free to leave a comment in the bottom. Thank you!
A Simple Yet Durable Finish
You've just built your first piece of furniture, now to finish it; but what do you do? How will you finish it? Stain? Paint? Do nothing? Choosing the right finish is the critical last step and can make or break your piece. There are a million choice combinations out there and it can get really confusing really fast. If you are like me, you want a finish that is quick, durable and easily repairable. Also, my finish technique assumes that your end game is to have the wood stand on its own. That is why you bought that expensive hardwood in the first place right? Right!
Staining Wood - Just Don't Do It
I may be in the minority here, but when I build furniture and I am using something like cherry, walnut, etc; I want the wood to really stand out. That is one reason I spend so much time picking through the rough lumber to find the best pieces I can. So, I don't use stain, pretty much ever. When you see furniture in stores that say "cherry stain" or something similar, it is usually not cherry wood, but something like poplar that has gone through an extensive finishing process to make it look like aged cherry. Now, I do understand that in many situations people will want to stain wood, oak is a very common situation. I get it, it is just not my preference and is also a more complicated process. If you want something to look like cherry, use cherry wood. If you want it to look like aged cherry, use cherry wood....and wait.
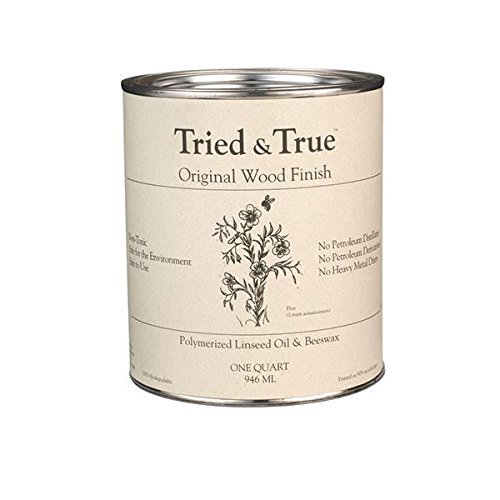
Natural Oils
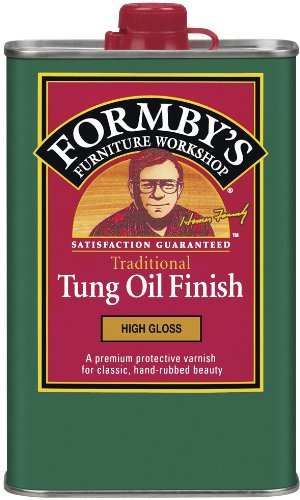
When I am applying finish to my projects, I like to start with a wiping varnish. What is a wiping varnish? It is nothing more than a natural oil, such as tung or linseed oil that is then mixed, usually 50/50, with a solvent such as mineral spirits. What this does is allow the varnish to dry faster. If you use a pure tung or linseed oil, with no solvent, it can take days or weeks to fully dry. I have used Formby's Tung Oil Finish for a while, with good success. The benefit is, it has been thinned down a lot which means it dries fast and you can apply many coats. These varnishes are also known as penetrating oils because the absorb into the wood and cure/harden which provide some protection to the wood. Follow the instructions, but I usually put on 2-3 coats before applying any kind of top coat. Again, you can make your own wiping varnish by buying a pure oil and then cutting it with a solvent. I like to apply a heavy initial coat with a rag to really soak the wood, then let it set a few minutes before going back over it with a rag to wipe off any remaining wet areas.

Flooding zebra wood with oil
Protective Finish - Topcoat
Once you have applied your desired number of oil coats, you need to let that dry for a couple of days, depending on temperature and humidity conditions, before applying your top coat. Your top coat is what is actually going to protect the wood from spills and hopefully minor scratches. For me, I like to use one of two finishes for the topcoat; shellac or polyurethane.
Shellac
Shellac is a natural finish that, in its pure form, comes in flakes and is dissolved with denatured alcohol. You can buy dissolved shellac in a can from any store, but there are a couple minor things to note. First, if you see a can of shellac that says "seal coat" or "sanding sealer", that shellac has been diluted, which ok, but you can save yourself some money by diluting it yourself. Simply buy a normal can of shellac and add denatured alcohol. I like to do about a 60/40 mix of shellac to alcohol on my first coat. Again, apply either with a bristle brush, or use a rag. You want to apply it nice and even and because it is heavy thinned, it will dry fast so work carefully, yet quickly. Once you are done with that initial coat, it is a good ideal to go over your piece with some 600 grit sand paper to knock off any dust nibs. Then, add a little more shellac to your mixture to increase its content and add your next coat. Keep doing this for your desired number of coats; 3-5 is about right.
Fresh coat of shellac
Polyurethane
When using polyurethane, You follow all of the same principles as you do with shellac, but when buying polyurethane look for two things. First, buy oil based polyurethane, not water based. I have no scientific reason for this, just personal preference. Second, even though you are wiping this finish on, do not buy "wipe on" polyurethane; again, you are only wasting your money. Buy normal polyurethane and thin it out with mineral spirits to create your own wipe on poly. I start with a 50/50 mix and add more polyurethane for each coat.
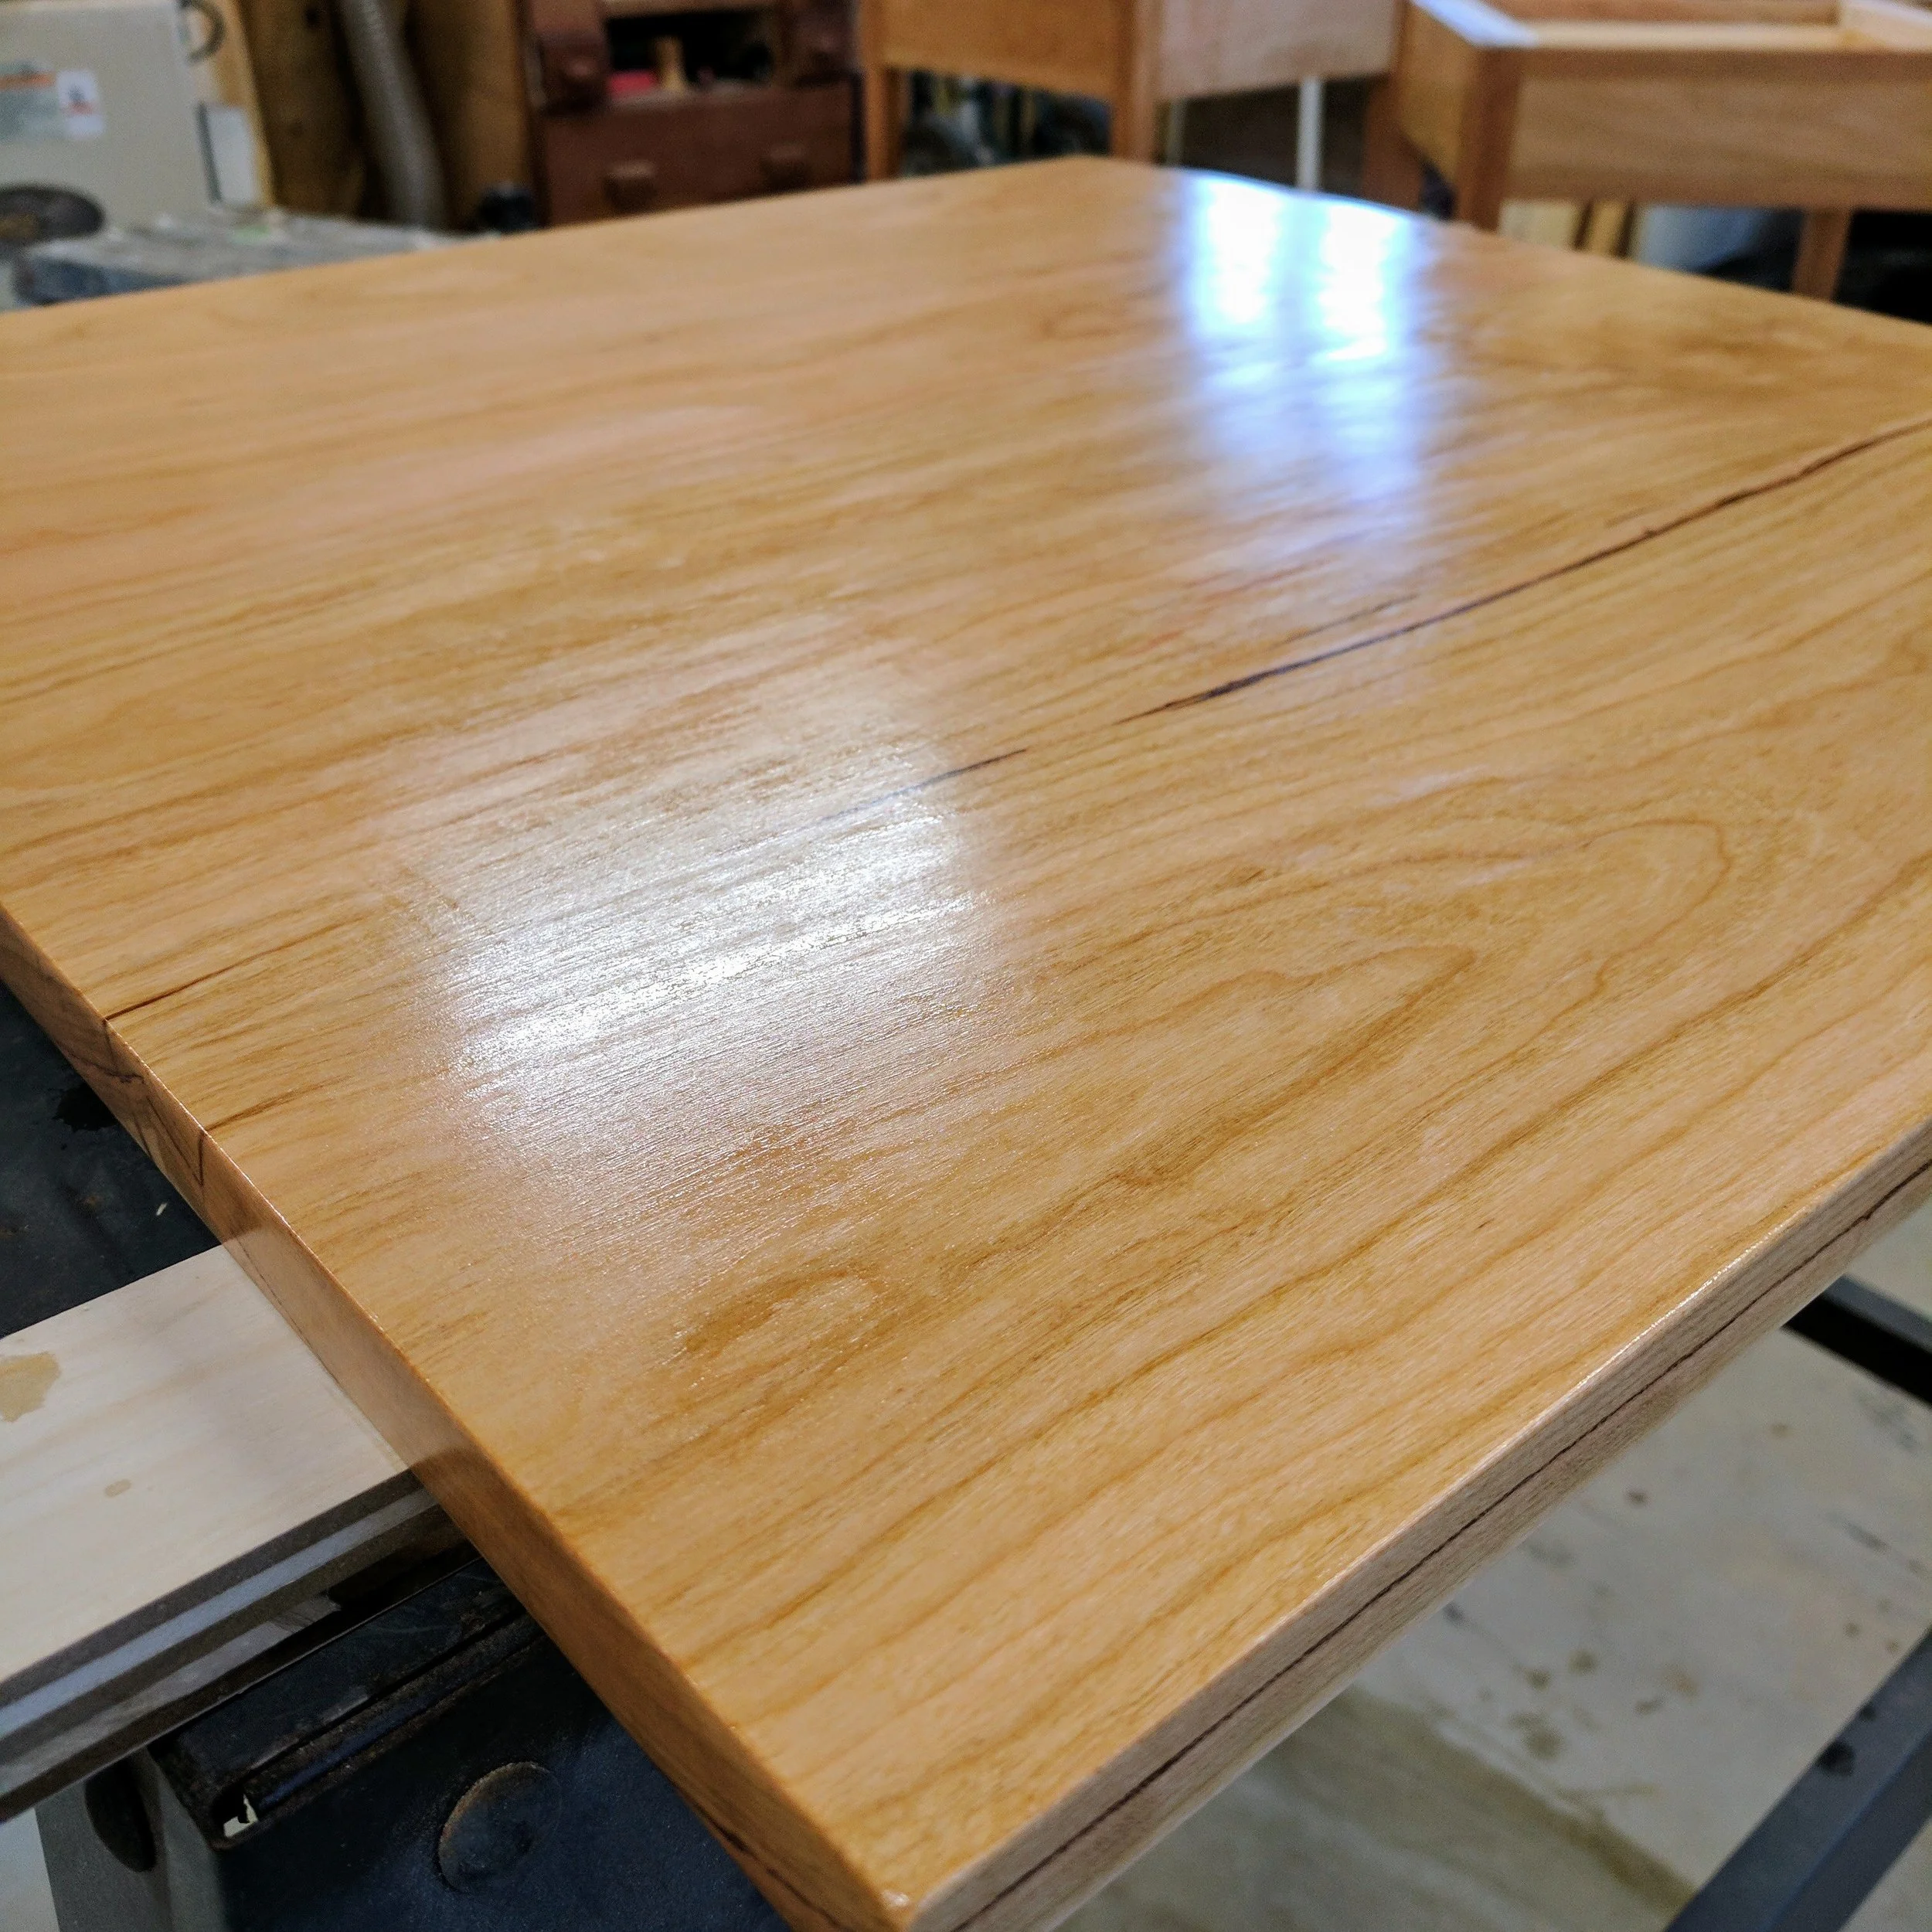
Final Step - Buff it Out
After you have applied the desired coats of shellac, I like to let the piece set and let the finish really harden for a day or two. The last thing I do to the piece is use a really fine steel wool, like a 0000 and a good furniture wax. Apply the wax, using the steel wool, and buff the surface out. This will remove any final dust nibs and give you a very smooth finish with a nice luster and shine to it. The wax also adds a bit of a protective layer, which you can maintain by reapplying periodically as needed. Either the polyurethane or shellac finishes can be re-touched by sanding the area that has been damaged and applying more finish to it.
Conclusion
Obtaining a natural finish that is also durable and repairable is not difficult, but it should begin and and with the wood you are using. Buy a good quality wood, pay careful attention to the grain and orientations and then choose a finish that allows that wood to stand out and speak for itself. By using a wiping varnish oil as a base coat, you are really allowing that natural beauty of the wood to stand out. Follow that up with a nice, protective, top coat and you will have a natural, durable finish that will last a lifetime!
Disclosure: Some links in this article are affiliate links meaning, I may get a small commission if you purchase anything from these links. Thank you for your support!