Building a Kitchen Island
Building a Functional Kitchen Island
Kitchen islands are great! Not only are they a super useful food preparation area, but they expand your countertop space, add additional storage options and also create a gathering place in your kitchen. Once you have a kitchen island, you quickly wonder how you ever lived without one; at least I did!
Kitchen Island Considerations
There are many things to consider when you are designing a kitchen island, but the most important: space. How much space do you have to fit an island in your kitchen without it feeling too cramped.
When we bought our current house, the previous owner had a small kitchen island that they took with them. As such, my wife wanted me to build one to replace it. I wasn’t too sure about it because I had gotten used to the open space of the kitchen without the island. But, as I’m sure you know, I lost that “battle”. So off I went!
Because the space for our kitchen island is pretty limited, I was not going to be able to have certain things in the design, such as seating or built-in appliances. We have a “L” shaped kitchen that has a cooktop/oven with bar seating as well, so we were covered there. I just needed my island to provide a food preparation area as well as some additional storage space.
Kitchen Island Must Have
For my kitchen island design, there was one thing that was a must have; a useful, durable and beautiful food preparation area. The kitchen island that was in the house previously was really nice, but the owner did not want to use it for food preparation, mainly because the top was not really built of the best material for that. I wanted mine to be useful.
So, in my kitchen island design, I knew I wanted a solid walnut, end-grain, butcher block top! Oh baby this thing was going to be awesome!!
I love the look of walnut for chopping blocks, cutting boards, etc so I knew that was the material I wanted to use for the top; this was going to be the focal point of this piece. Frankly, I could have built the base out of Legos and I don’t think anyone would notice. I didn’t, but that would have been cool. I decided to use white oak for the base. I love the combination of white oak with walnut.
Kitchen Island Size and Features
I determined that the best dimensions for this kitchen island would be no wider than 20” and roughly 36” long; I could go longer, but not wider because the island is going to fit between our refrigerator and the kitchen sink.
These dimensions were going to determine the size of my walnut chopping block top. The base was going to be just a little bit smaller than that; not much of an overhang. For my design, I decided I wanted to put the drawers on the ends of the island, the narrowest parts, so I wanted to get as much drawer space as possible. The bottom was going to be an open shelf for my wife to store and access cookbooks.
A pretty simple design, but it was also going to be a very useful design.
Building the Island
So, with my marching orders, it was time to build. I decided to start with building the base. For the legs I chose to use 8/4 white oak. I wanted something to be, and look, sturdy to go with the beefy top I was going to put on it. I milled the 8/4 leg stock to a finished 1-⅞” width and thickness.
I then milled the material for the side rails, which were just 4/4 material, finished milled to ¾”. The railes for the ends, where the drawers will be, are actually 1-⅞” wide and 1” thick.
To join the upper end rails to the legs I used half-blind dovetail joints. These are very common in table builds where there are drawers. It helps prevent racking and any pulling apart of the table. So I cut the tails into the rails and used those to layout and cut the mating socket.
Upper End Rail Dovetail
Mating Dovetail Socket
You can see in the photo that I have labeled the tails and sockets. I do this because any variance in my cutting from one to the next will ensure I keep the pairs together.
For the lower rail on the drawer sides, I used a double mortise and tenon joint. This is a very strong joint and helps prevent the rail from twisting. I first cut the double tenons into the rails and then used these to layout for the mortises. Here you can see how this joint will go together.
Double Mortise and Tenon Detail
Mortise and Tenon Fit
Mortise and Tenon Finish Fit
The longer side rails are also mortised into the legs. Because of the height of the side rails (6”) I am using another version of a double mortise and tenon joint. Basically it is two tenons with a shorter tenon between them. This keeps the rails from twisting, but also keeps you from having to remove too much material from the legs, which can weaken the leg structure.
Again, I cut the tenons on the rails first and then use those to layout the mortises for the legs.
Transferring Tenon Layout for Mortises
Here is a tip! Use your setup blocks to layout your tenon shoulders and then use the same setup block to get your mortise setback on your legs.
Using a Setup Block for Mortise Setback Layout
This line I am drawing is where my mortise will start, my mortising bit determines the width of my mortise.
Once I had all of the joinery done, I was able to get the base dry fit and see how it was taking shape.
Dry Fit - Drawer Opening Detail
I replicated the double mortise and tenon joints that I used for the lower drawer rails to add two rails near the bottom of the kitchen island. This is where I am putting the shelf to hold the cookbooks.
Building the Walnut Butcher Block Top
Ok, like a nit-wit, I did not get photos of building the top. Honestly, I wasn’t sure how it was going to work out, but here is how I did it.
First, there are two really good resources you should know about when building end grain cutting boards or chopping blocks. First is Cutting Board Designer. This is a very simple layout designer you can use to get an idea of what your board will look like and how much material you will need to build your chopping block. Very simple, but useful.
The second resource I used was Advanced Cutting Board Designer. This tool is, as the name suggests, a bit more advanced. Not only can you input your materials, but it also has many built in cutting board design templates such as checkerboard, brick, chevron, etc. The really cool part of this tool is that it also gives you instructions on how to build that particular design. Very cool!
Ok, back to my top. Using these tools I determined that I was going to need twelve 8/4 pieces of walnut about 43” long and about 1-⅞” thick and 1-⅞” wide. I started by milling the 8/4 lumber to thickness, then I ripped my 12 pieces from there. It is important to keep your pieces in sequential order the whole time. Once I ripped the pieces, I rotated them 90 degrees and then glued them together. It is SUPER important to keep everything even and flat here. I actually glued these in two halves. Because I have a 12” jointer, I can run each half over the jointer to get them clean, then glue the two pieces together. It is a lot easier to manage this, and keep it flat, than 12 individual pieces.
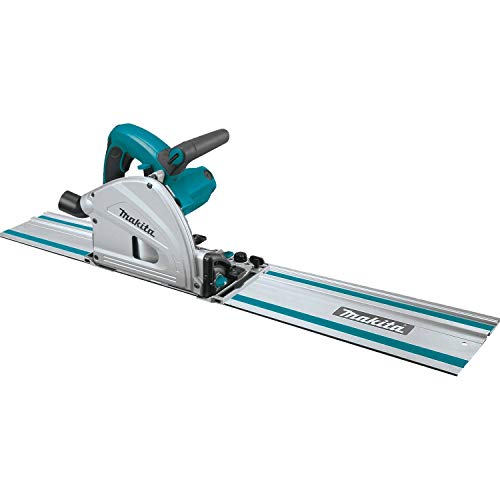
Once the two pieces are glued together and dried, I clean up any glue and make sure everything is flat. Next, I use a track saw to get one end square to the side. Next, I use a sled on the table and start cutting strips across the grain. You can actually see a better example of this process by Brad over at Fix This Build That.
Anyways, here is what my finished top looks like.
Walnut Butcher Block Top Detail
The finished dimensions came out to 18-⅝” wide, 37” long and 1-⅞” thick. This top is so awesome!
The finish
I finished the top by soaking it with high grade mineral oil. Just keep soaking the top and allow it to take as much as it wants. A high grade mineral oil will protect the wood and is resistant to food rot. It is easy to re-apply to your chopping block as well. Whenever your block looks a little dull, or if you have had a lot of moisture on it, just re-apply. You cannot use too much.
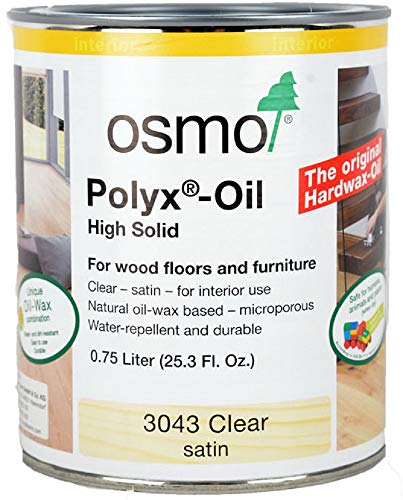
The white oak base was finished with two coats of satin OSMO. I like the color it gives to the white oak and I like the feel it leaves with the wax in it.
Here are some shots of the finished product in its new home!
Conclusion
This was a fun and pretty easy build. I do not get to build things for my own home very much anymore, so this was a nice break. Plus, we are loving this kitchen island! It is such a tool for us when we are cooking. The walnut butcher block top is beautiful to look at, but is also a dream to use. It gets a lot of use, but you can hardly tell at all. That is the beauty of end grain boards, they last forever!
I hope you enjoyed this build. Let me know what you think in the comments below!
Disclosure: Some links in this article are affiliate links meaning, I may get a small commission if you purchase anything from these links. Thank you for your support!


About Me…
Welcome to my blog. My name is Derik VanVleet and I am the owner/builder of VanVleet Woodworking llc. I hope you find this blog useful and insightful. Feel free to leave a comment in the bottom. Thank you!